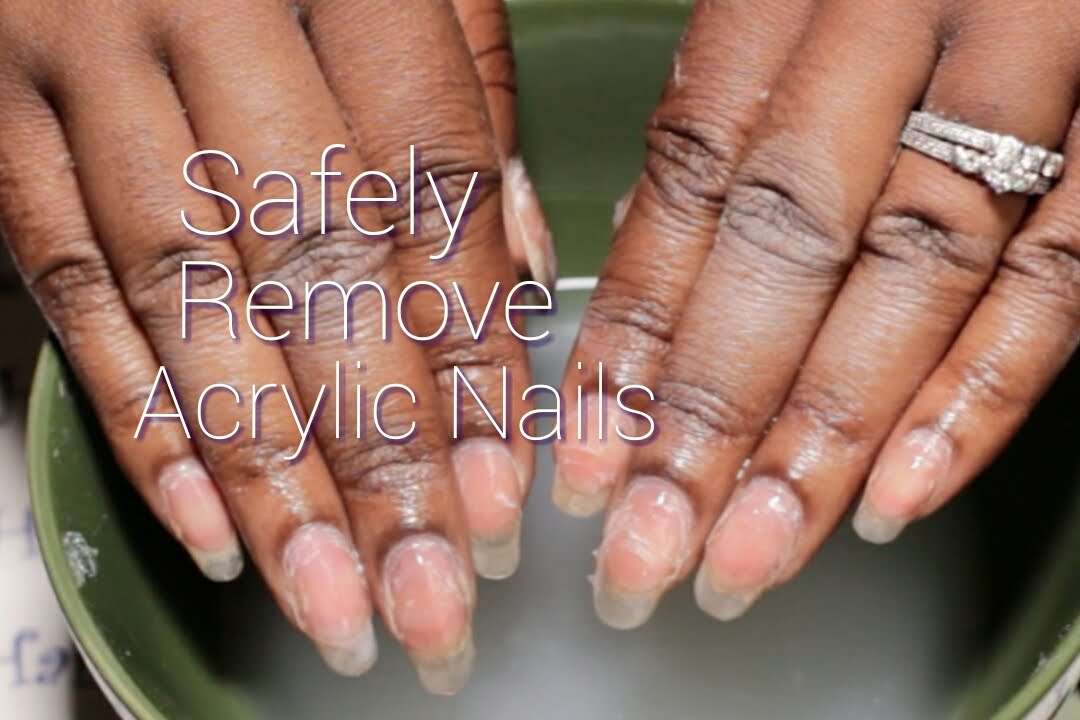
removing acrylic nails and applying gel
removing acrylic nails and applying gel and liner on top of the original one (a little on the back of the nail). Leave the original nail exposed for about a day (the color may vary with the time!). This procedure will make it look brighter, longer and more rounded.
Wash your hands and wipe off any residue you find by hand or dry on a towel. The gel should still smell faintly as you wipe it off. After 5–10 days, wash all of the nail and all of the top with water in a separate sink with a spray bottle. Then wash back and forth for 10 days, but don't leave the bottle open in your hand.
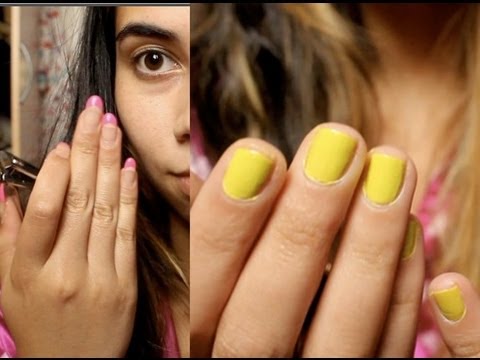
Here's an example of how gel can hold your original color.
For a more detailed description and steps for applying gel to your new acrylic nail, I can't stress enough how important this is. Glue, acrylic or none, this is about applying a special kind of color you need in order to get the desired look.
With any of these options, simply apply the exact same gel you used in the original! There's a big difference!
If you haven't tried any of the above methods of doing this, you may wish to read my other post, Gel Lips: 3 Good Practices for Keeping Lips Green!
I hope this information has made it easier for you to create your own acrylic nail. To do this, you'll need a special kind of water


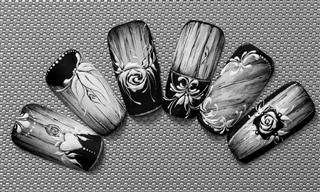


Dark Red Acrylic Gel NailsGel White and Light Pink Acrylic NailsOrange Gel Acrylic NailsGreen Gel Acrylic NailsGel Polish On Acrylic NailsDip Gel Acrylic NailsGel and Acrylic Nail DesignsAcrylic and Gel Nails DifferenceAcrylic Nails with Gel Polish with the WhiteGel Acrylic Nail Fungus Under Fingernail


Comments
Post a Comment