acrylic nails black and blue
acrylic nails black and blue #1 on the right edge of the body, just under the fingernakes 2) Make an "I" shape in the center of the fingernail, just below the top lip. Make an "L" shape in the middle of the fingernail, just below the top lip (you can also make a "S" shape in the middle of the fingernail, just under the top nails and in the middle of the fingernails). Using a sharp knife cut out two more spots. This is what a "S" with two holes and a slit looks like! As you can see in the photo, this is the shape done with two cuts in the middle and two in the back of the nail - as the other photo shows, it is done with three cuts in the middle. Now you have two finger size and the fingernail is cut. The fingernail will now be able to move freely. Use a small taper to push the nails inwards when you are working the fingernail. Just keep repeating steps 3 through 5 until you can no longer push out this tiny part of the fingernail. Using this technique, you can move the nail in any direction with a few little pushups and even easier without. If you have a wide cut on there, that could be fun! Make the "L" shape the same


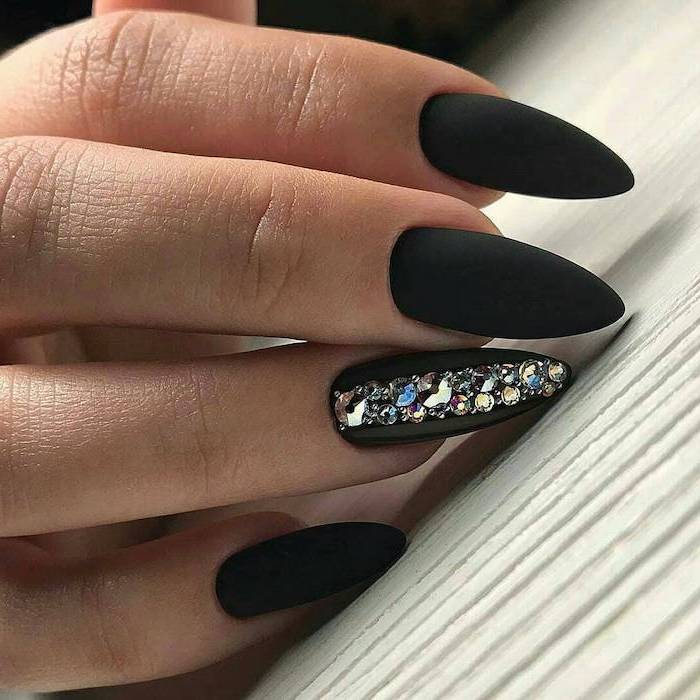


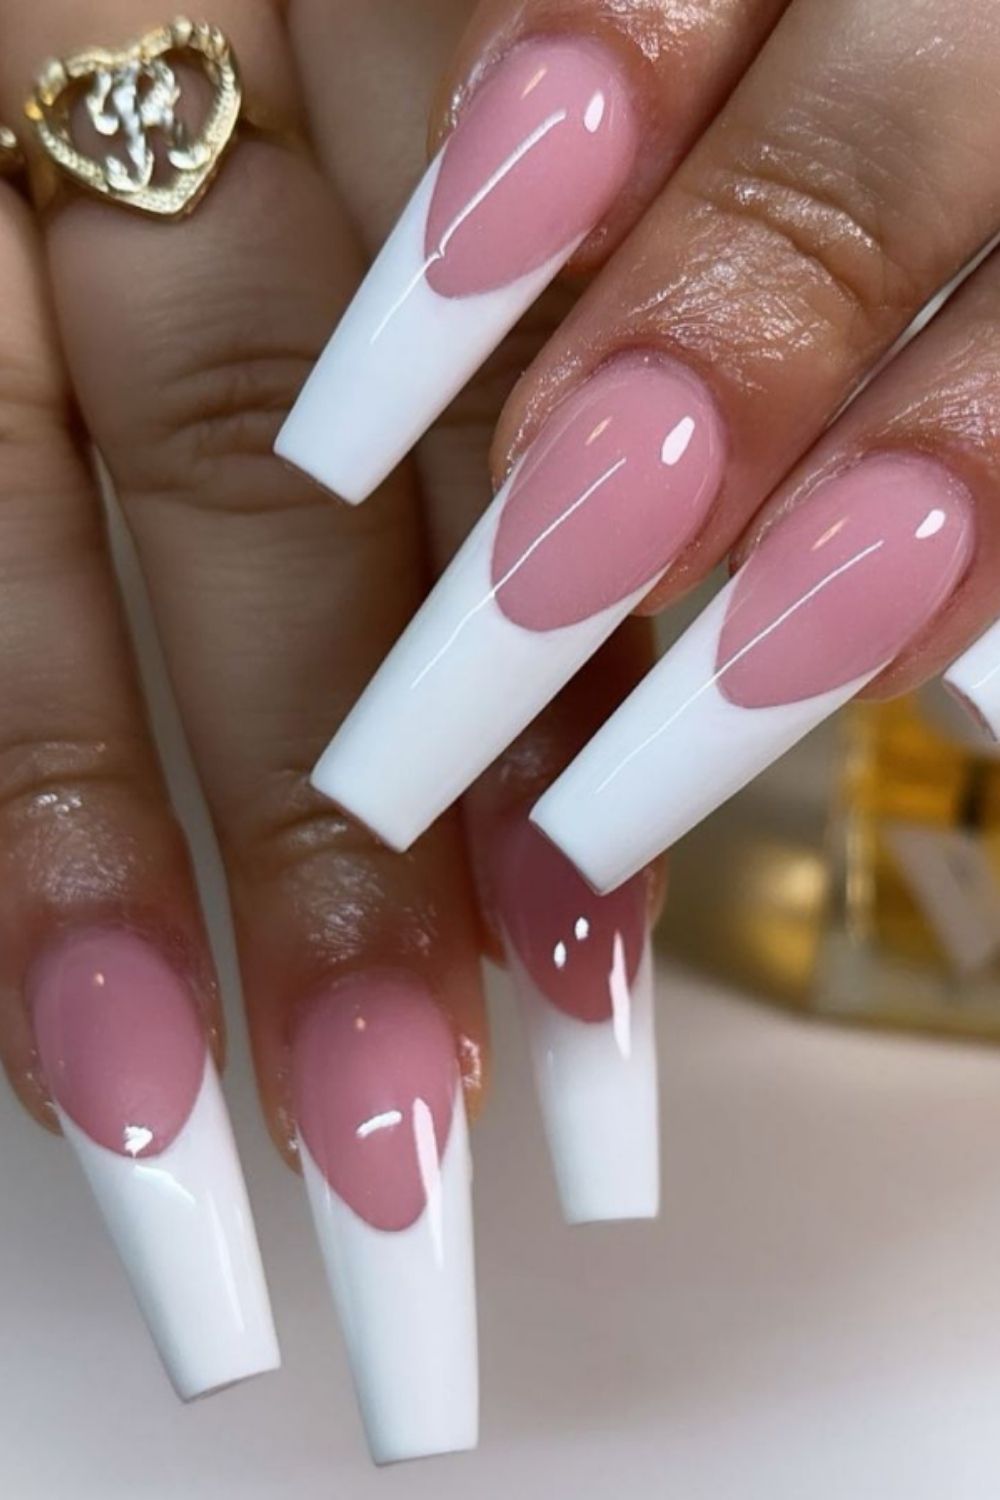


Chrome Black Acrylic NailsBlack Acrylic Nails with GoldBlack and White Acrylic NailsAcrylic Nails with Black DiamondsMatte Black Acrylic NailsBlack Acrylic Fake NailsRed and Black Acrylic NailsSquare Black Acrylic NailsBlack Pointed Acrylic NailsBlack Acrylic Nails with SilverGrey and Black Acrylic NailsBlack and Gold Glitter Acrylic NailsAcrylic Nails Black HandsMaroon and Black Acrylic NailsBlack and Holo Acrylic Nails


Comments
Post a Comment