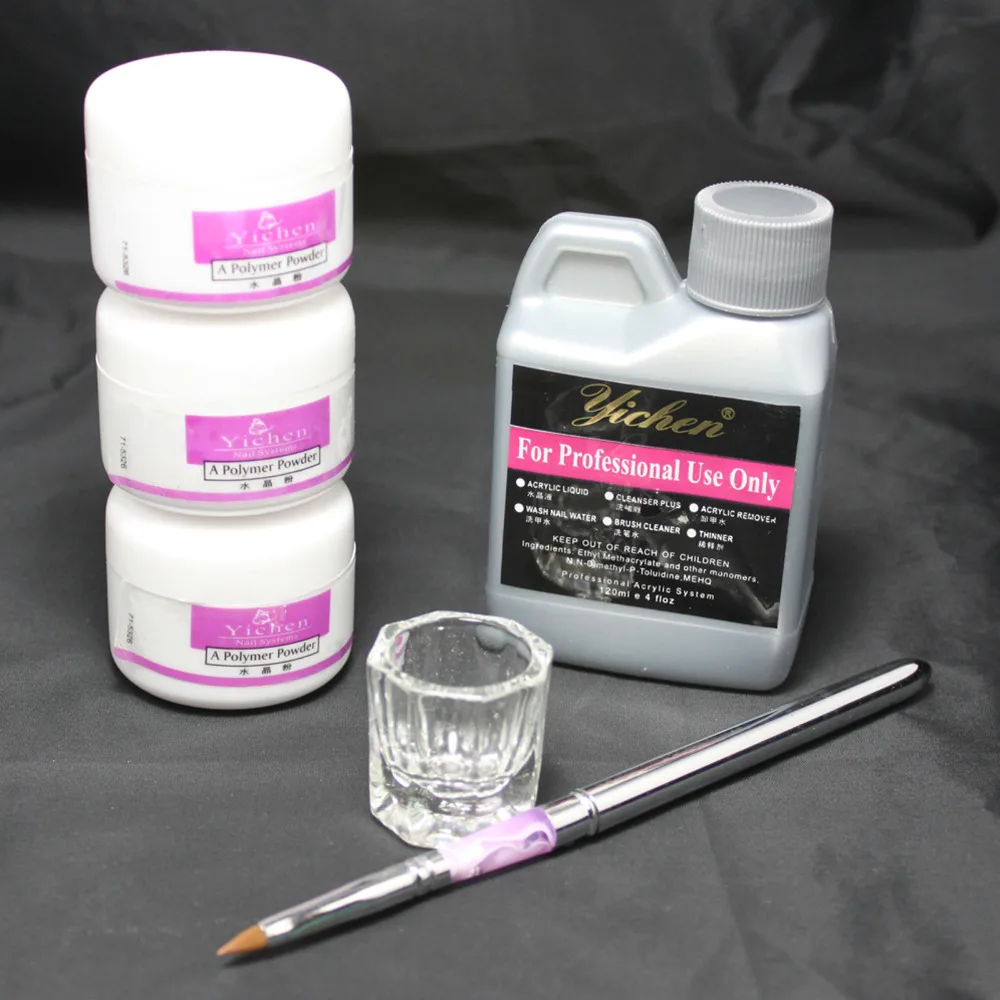
acrylic nails diy kit
acrylic nails diy kit I would recommend to anyone considering DIYing a DIY nail, here's a tip. First, simply melt a piece of acrylic paint and try and get it to shine. If it isn't working, add in 2 pieces of plastic wrap to mix it up. Then, try and paint with either a light (yellow/yellowish) paintbrush or a nail punch. Make sure to clean the two pieces using a dish cleaner and a cotton swab, if you're using it like I do. I personally use it with a 3/4 inch thick layer of Vaseline on my fingers. If it just seems too sticky, I can paint, but I prefer to dip the layers in liquid so that my fingers will keep dry. The problem with DIYing an ultra-light acrylic nail is that every layer needs a coat, and so if the layers are too oily (or if they're going to be dry, they need a longer one to really work!), you can always try them all over the piece. I'm not sure how it goes, but I'd definitely recommend trying it all over if you want a pretty nice nail, something that can hold two pieces of paint together. Once the coat is dry, it looks like it will start to glide in place, and it should appear completely flat. You can still go all the way up to the top with the paintbrush, but this is a bit tricky. Try and work the edge as close to the


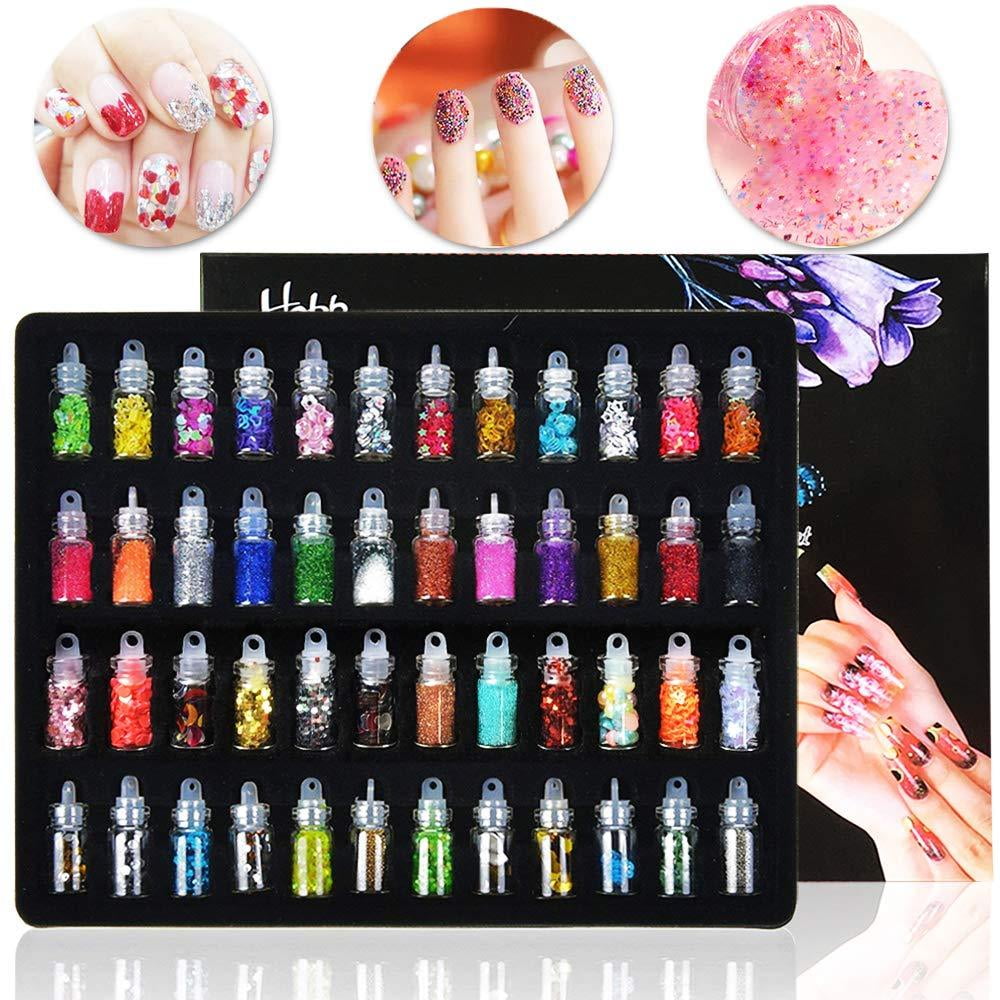

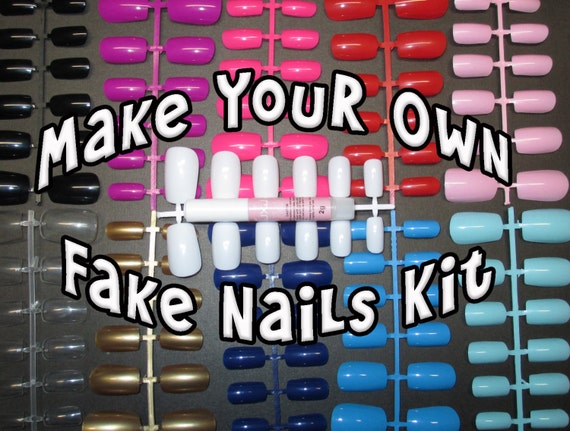
Mia Secret Professional Acrylic Nail KitNail Kit Acrylic for KidsAcrylic Nail Kit No PowderQuick Dip Acrylic Nails KitAcrylic Nail Filler KitHow to Use Acrylic Nail KitFake Nails Acrylic KitCoscelia Acrylic Nail KitCND Acrylic Nail KitKiss at Home Acrylic Nail KiteBay Acrylic Nail KitsBest DIY Acrylic Nails KitAcrylic Nail Form Kit


Comments
Post a Comment